Painted Spring Watercolor Texture Review for Real Embroidery Projects
First Impressions: A Soft, Artistic Vibe
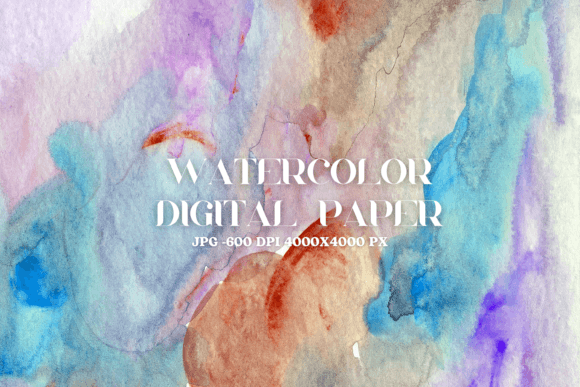
When I first opened the Painted Spring Watercolor Texture embroidery file, I immediately thought of soft florals, pastel palettes, and a gentle, artistic energy. It’s not a bold or dramatic design, but one that leans into subtlety and painterly charm. The texture mimics watercolor brushstrokes with a light, airy touch—perfect for designs that need a breath of fresh spring air.
As a designer, I appreciated how the texture doesn’t overpower the base design. It layers beautifully over floral motifs, abstract shapes, or even minimalist text. The texture itself is delicate, not too dense, which gives it a soft visual weight. It feels like it would work best in projects that aim for a hand-painted, organic look—think baby clothes, boutique tote bags, or custom embroidered pillows.
Real-World Use: From Sweatshirts to Baby Onesies
I tested the Painted Spring Watercolor Texture on a few different project types to see how it holds up in real-life embroidery. First, I stitched it onto a medium-weight cotton tote bag. The result was subtle but impactful—like a whisper of color and depth that elevated the plain fabric without looking cluttered.
Next, I applied it to a soft baby onesie. The texture stitched cleanly, and the light density prevented any stiffness or discomfort. It added just enough visual interest to make the garment feel special, which is exactly what Etsy sellers or boutique creators look for in handmade baby items.
On a sweatshirt, the effect was more subdued. The thicker fabric softened the texture’s appearance, but that’s not a bad thing—it gave it a more grounded, wearable look. I could easily see this being used for spring-themed hoodies in a small shop setting or personalized gifts for friends and family.
Where to Use It Carefully
While the Painted Spring Watercolor Texture is versatile, there are definitely situations where you need to be cautious. I wouldn’t recommend it for very small hoop sizes—there’s enough detail that it could get lost or look muddy on tiny surfaces.
On stretchy or thin fabrics like jersey or lightweight knits, the texture can distort slightly during stitching. Using a quality stabilizer helps, but it’s something to test first. Similarly, on dark fabrics, the light thread colors may not stand out as clearly as intended. I found that using a light underlay or testing with a few different thread shades helped maintain clarity.
Curved surfaces like caps or detailed corners on patches also require attention. The texture is best suited for flat, even areas where the stitches can lay smoothly. If you’re planning to use it on curved or layered garments, be sure to test stitch on a similar surface before committing to the final piece.
How It Elevates the Finished Product
One of the biggest strengths of this texture is how it enhances the visual appeal of an embroidery project without complicating the design. It adds depth and a handmade feel that’s hard to replicate with standard fill stitches. Whether you’re creating personalized gifts or boutique apparel, this texture helps your work stand out subtly but effectively.
For Etsy sellers or small shop owners, that kind of detail matters. It contributes to a more polished, intentional look that customers notice and appreciate. It also supports brand consistency—especially if your brand leans into soft, natural aesthetics. The texture helps maintain a cohesive visual identity across multiple product lines, from embroidered patches to holiday-themed tea towels.
From a customer trust standpoint, designs like this one show that you’ve put thought into the quality and presentation of your work. It’s not just about adding a pretty pattern—it’s about enhancing the overall experience of the product. That translates into repeat buyers, better reviews, and stronger word-of-mouth referrals.
Designer Notes: Practical Tips Before You Stitch
Before using the Painted Spring Watercolor Texture in your next project, here are a few practical tips I picked up through testing:
- Test on scrap fabric first—especially if you're using a new fabric type or thread color.
- Check thread color contrast against the base fabric. Light colors may need a darker underlay to stand out.
- Review stitch density to avoid puckering on delicate materials.
- Confirm hoop size compatibility with your machine before stitching on a finished item.
- Inspect small details closely—some areas may be too fine for small hoop embroidery.
- Test in black and white mockups to see how the texture reads without color.
- Compare light and dark fabric backgrounds to see which works best for your design.
- Use proper stabilizer—especially on stretchy or textured fabrics.
- Check licensing terms if you plan to sell finished products or digital embroidery files.
These steps will help ensure your project turns out clean and professional, whether you're making one custom embroidered gift or a batch of items for your Etsy shop.
Final Thoughts: A Texture Worth Adding to Your Kit
The Painted Spring Watercolor Texture is more than just a pretty pattern—it’s a functional design asset that brings a touch of artistry to any embroidery project. It’s especially well-suited for makers who want to elevate their work without overcomplicating the stitching process.
Whether you're creating personalized gifts, custom apparel, or boutique-style embroidered patches, this texture adds depth and a handmade quality that customers appreciate. It performs well on a variety of fabrics, though it does require some attention to detail when used on curved or delicate surfaces.
As a designer, I’d recommend it for spring-themed projects, nursery decor, or any product that benefits from a soft, artistic touch. It’s a great addition to your digital embroidery file collection and one that I’ll definitely be reaching for again.